
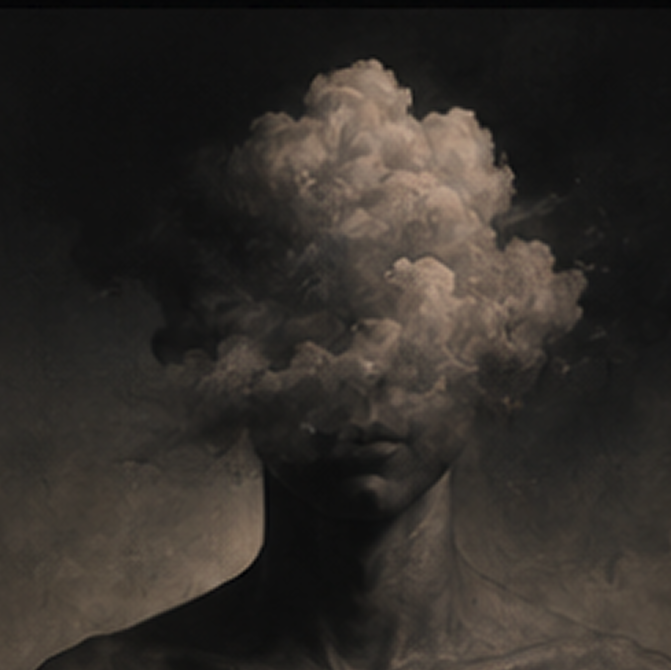
Imagine making an image without a camera. This is the magic of the rayograph, also known as a photogram. It’s a key darkroom technique that shaped an entire art movement.
As scholar David Bate explains in “Photography and Surrealism,” this method was key to the Surrealist movement. It started as an intuitive process but evolved into a more thoughtful exploration.
Techniques like solarization and montage were more than just darkroom tricks. They were vital for artists like Man Ray. These methods aimed to show the strange directly on paper, without conscious control.
These experiments changed how we see the world. They made the familiar seem strange. This introduction reveals the core processes behind this surrealist photography, making it so groundbreaking.
Historical overview of surrealist photo practices
Surrealist photography was more than just a style. It was a bold response to the early 20th century’s chaos. It used cameras and darkrooms to question reality. To understand this, we must explore its history.
David Bate, in Photography and Surrealism, divides the movement into two phases. The first was an intuitive epoch. It focused on the subconscious. Artists used automatic techniques to avoid rational thinking.
The second phase was a reasoning epoch. It was about political and social critique. This change was due to events like the Moroccan War and rising fascism.
André Breton, the founder, pushed for art to confront injustice. Photography became a tool for social dissent. It challenged colonialism, explored hidden sexuality, and attacked middle-class values.
Man Ray and poet Paul Eluard brought these ideas to life. A photogram was more than an abstract image. It was a statement. By placing objects on photo paper, they rebelled against traditional art.
The political climate forced Surrealists to take sides. Their work shifted from dreamy scenes to harsh realities. This history is key. It shows that each distorted image and solarized print had a hidden message.
Knowing this background changes how we view their techniques. They were not just darkroom steps. They were part of a fierce, creative battle against a troubled world.
Rayographs/photograms: setup, exposure tests, papers
The photogram, also known as a rayograph by Man Ray, is a way to ‘draw with light’ on photosensitive paper. Man Ray introduced this technique to the Surrealist circle. It turns simple objects into dreamlike images. Your journey begins with a simple setup.
You’ll need a darkroom, a safelight, photosensitive paper, and a light source. Place objects directly on the paper’s emulsion. A feather creates a soft shadow, while a solid object makes a clear silhouette.
Getting the right exposure is key for contrast. Don’t guess the time. Make a test strip by covering most of the paper with cardboard. Expose different parts for 5, 10, and 15 seconds.
Process the strip normally. This shows how long to expose for details in translucent items and solid objects. Aim for a range of tones from black to white.
The paper you choose affects the final image. Modern resin-coated paper is forgiving and quick to process. It has a glossy finish. Traditional fiber-based paper gives richer blacks and a textured feel.
For a historical touch, try vintage papers. They need adjusted exposure times. Or, use art papers coated with liquid emulsion for unique surfaces like canvas or wood.
Cyanotype is another cameraless technique. It uses chemicals to create a photosensitive surface. This yields Prussian blue prints. It’s similar to photograms but uses different chemicals and sunlight for exposure.
Exploring cyanotype connects you to 19th-century processes. It expands your creative tools. Both photograms and cyanotypes let you experiment. They remove the camera barrier, allowing you to work with light and shadow directly. Start arranging, expose with purpose, and see what develops.
Solarization/sabattier effect: darkroom steps and controls
Lee Miller found a new art form in a darkroom mistake. Working with Man Ray, she accidentally exposed a print to white light. This mistake showed her a world of inverted tones and glowing edges.
This technique, known as the Sabattier effect, is a controlled rebellion. It changes the standard development process. The result is an image that feels both familiar and alien.
Highlights turn dark, and midtones shimmer with a silvery glow. Distinct black lines, called Mackie lines, etch the borders between light and dark areas. This creates the uncanny, otherworldly look cherished by Surrealist photographers.
To master this technique, you need precision and timing. Here’s a step-by-step guide to the darkroom process.
- Expose and Develop Normally: Place your photographic paper under the enlarger and expose it to your negative as usual. Then, slide it into the developer tray.
- Watch for the Critical Moment: As the image begins to appear, watch it closely. When the midtones are fully visible but before the highlights get too dark, you must act. This is typically about two-thirds through the normal development time.
- Flash with White Light: This is the key step. Briefly turn on the white darkroom safelight or another dim light source. A flash of one to three seconds is often enough. The print is then returned to the developer tray to finish processing.
- Complete the Process: After flashing, complete development. Then, move the print through the stop bath, fixer, and wash as you would with any standard print.
The controls for managing the effect’s intensity are delicate. The duration of the flash light is the primary control. A shorter flash yields subtle tonal reversals. A longer flash creates more dramatic, high-contrast results. The density of your original negative also plays a role. A thinner negative will solarize more dramatically than a very dense one.
Managing the iconic Mackie lines involves controlling contrast. These lines form at the borders of high-contrast areas in the image. Using a high-contrast grade of photographic paper will make these lines more pronounced and stark. A lower contrast grade will render them softer and more subtle.
| Process Stage | Standard Development | Solarization Variation |
|---|---|---|
| Initial Exposure | Calculated for normal tonal range. | Often slightly underexposed to compensate for later darkening of highlights. |
| Development | Uninterrupted until completion. | Interrupted at the ⅔ point for a brief white light flash. |
| Tonal Outcome | Continuous gradient from black to white. | Partial tonal reversal; highlights become dark, midtones glow. |
| Characteristic Marks | None. | Presence of distinct Mackie lines at contrast edges. |
| Artist’s Control | Exposure time, developer dilution. | Flash duration, negative density, paper contrast grade. |
Lee Miller’s genius was in recognizing and systematizing these controls. She moved the technique from accidental to intentional. Her work showed that solarization was more than a trick. It was a new language for expressing the subconscious, a perfect fit for the Surrealist movement. Her collaboration with Man Ray produced some of the most iconic examples of the technique, cementing its place in photographic history.
To experiment yourself, start with a test strip. Practice the timing of the flash on a small piece of paper. Keep detailed notes on your exposure, development time, and flash duration. This methodical approach is the true legacy of Miller’s mastery—turning chance into a repeatable, expressive art.
Montage and multiple exposure: analog and digital workflows
Montage asks a simple yet profound question: what new truth emerges when two photographs become one? For Surrealists, the answer was a deliberately unsettling meaning. This came from forcing disparate realities to share the same frame. This practice of photographic collage remains a powerful way to challenge perception.

You can create these layered realities in two primary ways: in-camera or after the fact. Each method offers a distinct creative experience.
The Analog Path: In-Camera and In the Darkroom
Creating a multiple exposure directly in your film camera requires forethought. You expose the same frame of film two or more times. The final image is a transparent overlay of each scene. This method favors spontaneity but demands careful planning of light and composition to avoid a muddy result.
For more control, turn to the darkroom and the technique of sandwich negatives. Here, you physically stack two or more film negatives together in the enlarger’s carrier. When you expose your photographic paper, light passes through all layers at once. The thinner, clearer areas of each negative combine to form a single, complex print. The charm of this method lies in its tangible, sometimes unpredictable, blending of textures and forms.
The Digital Translation: Precision and Possibility
Software like Adobe Photoshop translates these analog principles into a realm of infinite precision. Instead of physical negatives, you work with digital layers. The core concept of montage remains identical: combining separate image realities.
You can mimic a multiple exposure by blending layers using modes like “Screen” or “Lighten.” To recreate the effect of sandwich negatives, use layer masks to carefully hide and reveal parts of each image. The digital workflow’s great advantage is its non-destructive nature. You can experiment with opacity, positioning, and blending endlessly without committing.
| Aspect | Analog Workflow | Digital Workflow |
|---|---|---|
| Control & Precision | Lower; embraces chance in-camera or with sandwich negatives. | Very high; pixel-level editing and undo functions. |
| Serendipity | High; happy accidents are part of the process. | Low; effects are deliberate, though filters can simulate randomness. |
| Revision & Iteration | Difficult and costly; each attempt uses physical materials. | Easy and free; infinitely editable layers. |
| Final Output | A unique physical print. | A digital file, easily reproduced or printed. |
Whether you stack film on a light table or layers on a screen, the goal is the same. You are constructing a new visual logic. The analog process connects you to the tactile history of Surrealist montage. The digital process unlocks modern precision to explore the same timeless, uncanny questions.
Safety with chemicals and ventilation
Creating photograms and solarizations needs a safe space. This means handling chemicals and ventilation are your first steps. These steps are not just about safety; they are the foundation of your creativity.
Working with photo chemicals requires respect and care. The three-bath process—developer, stop bath, and fixer—each has its own dangers. Always read the safety data sheets before starting. Keep chemicals in sealed containers, away from heat and light.
Proper disposal is key to responsible practice. Don’t pour used chemicals down the drain unless it’s okay by local rules. Many places have hazardous waste collection sites. For small projects, use kits for neutralizing and evaporating chemicals. Plan how you will dispose of chemicals before you start.
| Chemical | Primary Purpose | Key Hazards | Essential Handling Tips |
|---|---|---|---|
| Developer | Converts latent image to visible metallic silver. | Skin and eye irritant. Can cause allergic reactions. | Wear gloves and goggles. Avoid skin contact. Do not inhale powder when mixing. |
| Stop Bath | Halts development by neutralizing alkaline developer. | Acidic; can irritate skin, eyes, and respiratory tract. | Use in a well-ventilated area. Gloves are mandatory. Often acetic acid-based. |
| Fixer | Removes unexposed silver halides, making the image permanent. | Releases sulfur dioxide fumes. Can contaminate developer if carried over. | Ventilation is absolutely critical. Use separate tongs from developer bath. |
Good ventilation is essential for your darkroom. It removes chemical fumes and brings in fresh air. A dedicated ventilation system is best. If not possible, use a strong fan to pull air out of the room.
Your PPE is your protection. Gloves keep your hands safe from stains and irritation. Safety goggles protect your eyes. An apron keeps your clothes clean. Always wash your hands after removing gloves, even if you didn’t spill anything.
Following these safety steps makes your darkroom a safe place to work. This knowledge lets you focus on your art without worry. When you know how to handle chemicals safely, you can explore new ideas freely.
Lesson plan for 2–3 lab sessions
Teachers looking to explore cameraless photography and darkroom techniques will find this plan useful. It starts with simple contact printing and moves to complex image making. It’s perfect for a short, intense unit.
Each session lasts 2-3 hours. It includes clear goals, materials, and discussion points. These help connect the hands-on work with Surrealist theory.
Session 1: Foundation in Cameraless Imaging (Photograms & Cyanotype)
Learning Objective: Students will make unique images without a camera. They’ll learn about object placement, light, and chemistry in creating a picture.
Materials:
- Photo-sensitive paper (silver gelatin or cyanotype-coated)
- Assorted translucent and opaque objects (feathers, leaves, keys, mesh)
- UV light source (sun or lamp) for cyanotype, enlarger or safe light for photograms
- Developing trays and chemistry (for photograms)
- Water and drying rack
Activity Steps:
- Introduce the history of photograms through Man Ray’s rayographs.
- In a darkroom or subdued light, have students arrange objects on photo paper.
- Expose the paper to light, then develop, stop, and fix (for photograms) or wash (for cyanotype).
- Encourage experimentation with exposure times and object layering.
Discussion: How does removing the camera change the creative process? What qualities make these images feel “uncanny” or dreamlike?
Session 2: Manipulating Reality with Solarization
Learning Objective: Students will learn to control the Sabattier effect. They’ll produce images with reversed tones and distinctive lines, exploring chance and control.
Materials: Previously made photogram or a simple negative, enlarger, developer, white light source (flashlight), stop bath, fixer.
Activity Steps:
- Print a standard photogram or contact sheet as a base image.
- During development, briefly flash the print with white light.
- Return it to the developer, then complete the stop and fix process.
- Practice varying the flash timing to control the strength of the reversal.
Discussion: How does solarization subvert our expectation of a photographic negative? Discuss the role of accident in Surrealist art.
Session 3: Constructing the Surreal through Montage
Learning Objective: Students will combine multiple images to create a new, impossible scene. They’ll practice both analog and digital compositing techniques.
Materials: Multiple negatives or source images, enlarger (analog) or computers with software like Photoshop (digital), adhesive, scissors.
Activity Steps:
- Plan a composite image that tells a short, surreal narrative.
- Analog path: Use multiple exposures on one paper or physically cut and paste prints.
- Digital path: Scan source images and use layers, masks, and blending modes.
- Refine the final piece for seamless or intentionally jarring integration.
Discussion & Analysis: How does montage challenge photography’s truth claim? Compare student work to historical examples by artists like Hannah Höch.
This lesson plan offers a journey from simple to complex. Students gain technical skills and engage with Surrealist ideas. For more darkroom knowledge, the linked guide is helpful. The sequence from photograms to cyanotype to montage shows photography as a medium for imagination.
Digital equivalents in contemporary practice
Modern digital workflows are influenced by darkroom techniques, making surrealism accessible to professionals. Image manipulation is now common, often for superficial changes. This contrasts with the deep, critical goals of Surrealist photography in the past.
Knowing the history of these techniques makes software more than just a tool. It becomes a creative partner. The darkroom’s core methods have digital counterparts that are often better.
Rayographs and photograms used objects on photo paper. Adobe Photoshop recreates this with layer masks and texture overlays. A photographer can scan an object, make it a high-contrast silhouette, and use it as a mask. This lets for non-destructive experimentation, unlike Man Ray’s time.
Solarization’s unique halos and tonal reversals were once a darkroom risk. Now, the Sabattier effect is controlled with gradient maps and blending modes like “Color Dodge.” Tools in Lightroom and Photoshop let artists target specific tonal ranges, creating surreal effects without guesswork.
Montage and multiple exposure have found their ultimate tool in non-destructive layers. Analog methods needed precise cutting and alignment. Digital workflows allow for seamless blending, adjustable opacity, and complex layer masks. This freedom encourages more daring and complex compositions.
One of the most interesting connections is how digital processes inform physical ones. A key example is making digital negatives for cyanotype printing. Artists design high-contrast images digitally, print them on transparent film, and use them to expose traditional cyanotype paper. This combines the precision of digital surrealism with the beauty of historical processes, showing they are not outdated but evolving.
| Historical Technique | Digital Equivalent | Primary Software Tools | Key Conceptual Bridge |
|---|---|---|---|
| Rayographs/Photograms | Layer Masks & Texture Overlays | Adobe Photoshop, GIMP | Object-as-shape, chance through digital collage |
| Solarization (Sabattier Effect) | Gradient Maps & Blending Modes | Photoshop, Lightroom, Affinity Photo | Controlled tonal reversal for uncanny effect |
| Montage & Multiple Exposure | Non-Destructive Layers & Masking | Photoshop, Procreate, Pixelmator | Seamless reality blending and critical juxtaposition |
| Cyanotype Printing | Digital Negative Creation | Photoshop, Illustrator, dedicated RIP software | Digital precision enabling physical cyanotype artistry |
For today’s professionals, efficiency is key. These digital equivalents save time and money. But, the real value is in understanding their history. Using a gradient map to solarize an image is more meaningful when you know its darkroom roots.
The goal is not to copy the past but to keep its spirit alive. Digital tools offer control for complex visions. They let today’s artists engage with surrealist traditions critically and creatively. The methods have evolved, but the mission to reveal the uncanny remains strong.
Conservation of prints and presentation options
When you move from the darkroom to the archive, preserving your prints is key. The unique textures and forms you’ve captured need protection from time and environment. Proper print conservation helps these works last for years, showing their full impact.
A well-processed print is the base for longevity. Poor washing can lead to stains and fading over time. Make sure to rinse the print thoroughly and dry it in a clean area before mounting or storing.
Use only archival-quality materials when preparing a print for display or storage. This includes acid-free boards, tapes, and mats. These materials stop chemical reactions that cause yellowing and damage. For mounting, use photo corners or archival hinges; avoid permanent dry-mounting unless sure of the print’s future.
For long-term storage, control the climate. Ideal conditions are cool, dry, and dark. Follow these simple guidelines:
- Store prints flat in acid-free boxes or portfolios.
- Maintain a stable temperature around 65–70°F (18–21°C).
- Keep relative humidity between 30% and 50%.
- Never store in attics, basements, or in direct sunlight.
Thoughtful presentation turns your work into an experiential object. Traditional framing with a deep mat can highlight a photogram’s mysterious quality. Always use UV-filtering glass or acrylic to protect against fading.
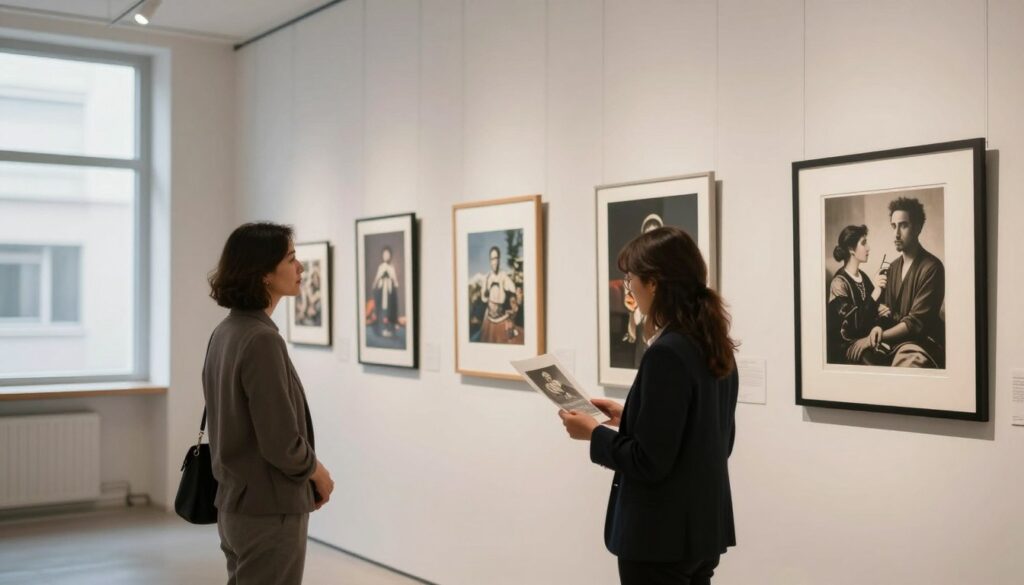
To enhance the surrealist feel, try experimental display methods. Float-mounting a print in a shadow box adds depth. Presenting a series of rayographs in a grid or stacked formation can tell a story. Using unconventional frames can blur the line between photography and sculpture.
Your choice in conservation and presentation is the final artistic decision. It protects the physical object and shapes how the viewer sees your vision. A well-preserved, thoughtfully presented print completes the journey from darkroom experiment to lasting artwork.
Critical analysis: the uncanny in photographic form
Looking at Surrealist photography through the lens of the ‘uncanny’ reveals a lot. This concept makes familiar things seem strange. David Bate’s work, Photography and Surrealism, helps us see why these images disturb us.
The uncanny, or das Unheimliche, is that feeling when something feels off. It’s like seeing a face that’s almost, but not quite, familiar. Surrealist photographers knew how to create this feeling. They used the camera to show us the strange side of reality.
Every technique in this guide helps create the uncanny. Solarized portraits turn people into ghostly negatives. Photograms make everyday objects into eerie shadows. Montage combines realities in ways that shouldn’t be. These methods make us see the world in a new, unsettling way.
When analyzing Surrealist images, look for these uncanny triggers:
- Doubling and Repetition: Seeing twins, mirrors, or shadows that seem alive.
- Animated Inanimacy: Objects or mannequins that seem to have a life of their own.
- Spatial Distortion: Scenes that don’t make sense, making us question reality.
- Bodily Fragmentation: Isolated body parts that seem to float free.
To understand the uncanny, find what should feel normal in the photo. It could be a family scene or a face. Then, find the twist—the solarized highlight or the montaged element—that makes it strange. The uncanny shows us how thin our reality is.
This way of looking at photos turns passive viewing into active interpretation. It helps us understand why Surrealist images stay with us. By using this analysis, we see the deeper meaning behind these images.
Repositories and open‑license image sources
Exploring Surrealist photography means diving into original works. This direct access sparks creativity and fuels deep research.
Top museums have vast digital collections. The Museum of Modern Art and the Getty Museum have high-quality scans of Man Ray and Lee Miller’s work. The Lee Miller Archives and the Man Ray Trust websites are treasure troves for their photos.
Looking for images to reuse? Check out Wikimedia Commons and Flickr Commons. They offer photos with clear rights for use. This way, you can add historical touches to your work ethically.
These archives link your work to the Surrealist movement. They make it easy to explore and create anew, blending past and present.